This spring, after more than five years living in my apartment, I decided that my studio needed a major overhaul to make it a more beautiful and comfortable space to work in. Here are all the changes I made! This post contains affiliate links.
My studio is a small space attached to the back bedroom of my apartment. Previously used as motorcycle storage, it has linoleum over cement floors, stained ceiling tiles, dark and oily hollow paneling on the east wall, and when I moved in it had many layers of sloppy multicolored paint and really rickety wood windows. A while ago my landlord replaced the windows but I still didn’t do anything with the space and it was used mostly for storage of so. much. stuff.
I hated it but never wanted to spend the time or money on a rental. Given the current housing crisis it really sunk in that I’ll be here awhile and may as well finally get comfy! So after five years, I gave this room a coat of fresh white paint, a set of lockers, hung my framed artwork, added brand new window treatments, a bar to hang macrame plant hangers, and covered up this godawful paneling with the cheapest and easiest fix I could… an iridescent photo backdrop meant for bachelorette parties etc.
Here is what it looked like before. Just a LOT of stuff everywhere and sooooo much on the walls.

South side

North side

Northeast corner

East side
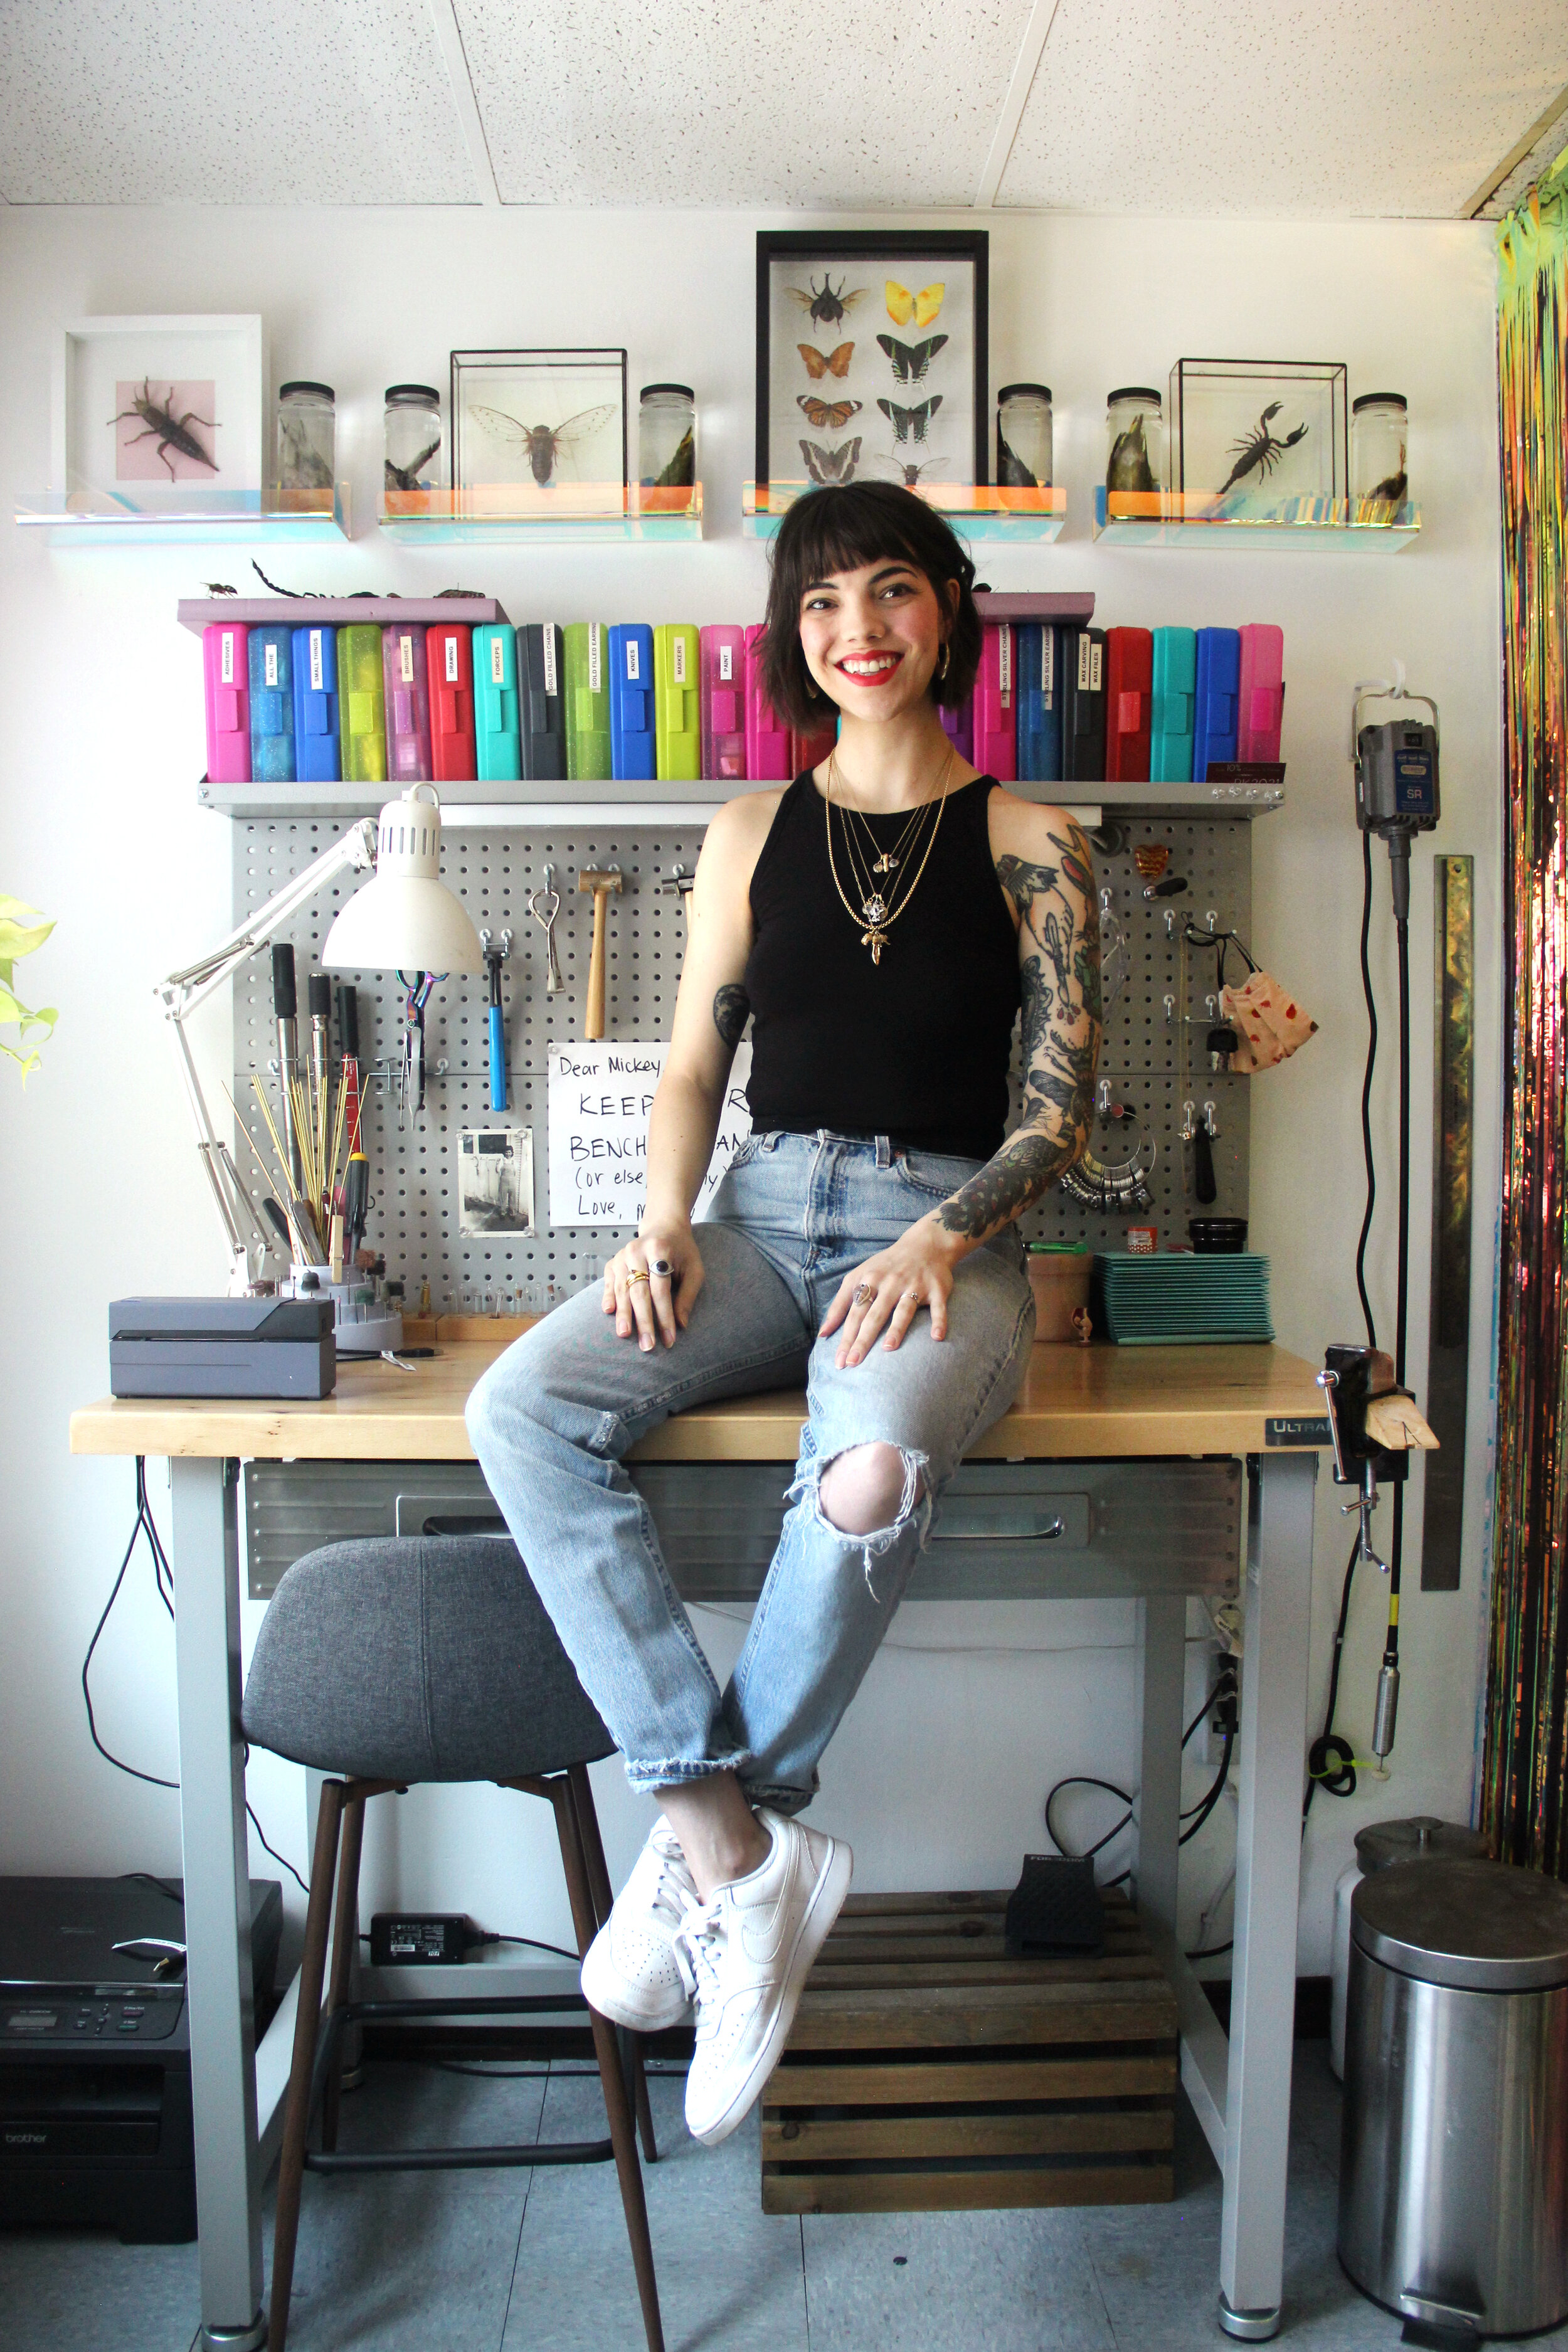
I took all of my stuff out (except the workbench, which I can’t move more than a few feet) and did a bit of KonMari organizing to shed the things that I really didn’t need to carry forward with me. Here is what it looks like now! It’s hard to take photos of such a small space so please excuse any warping — I promise I don’t live in an actual funhouse.
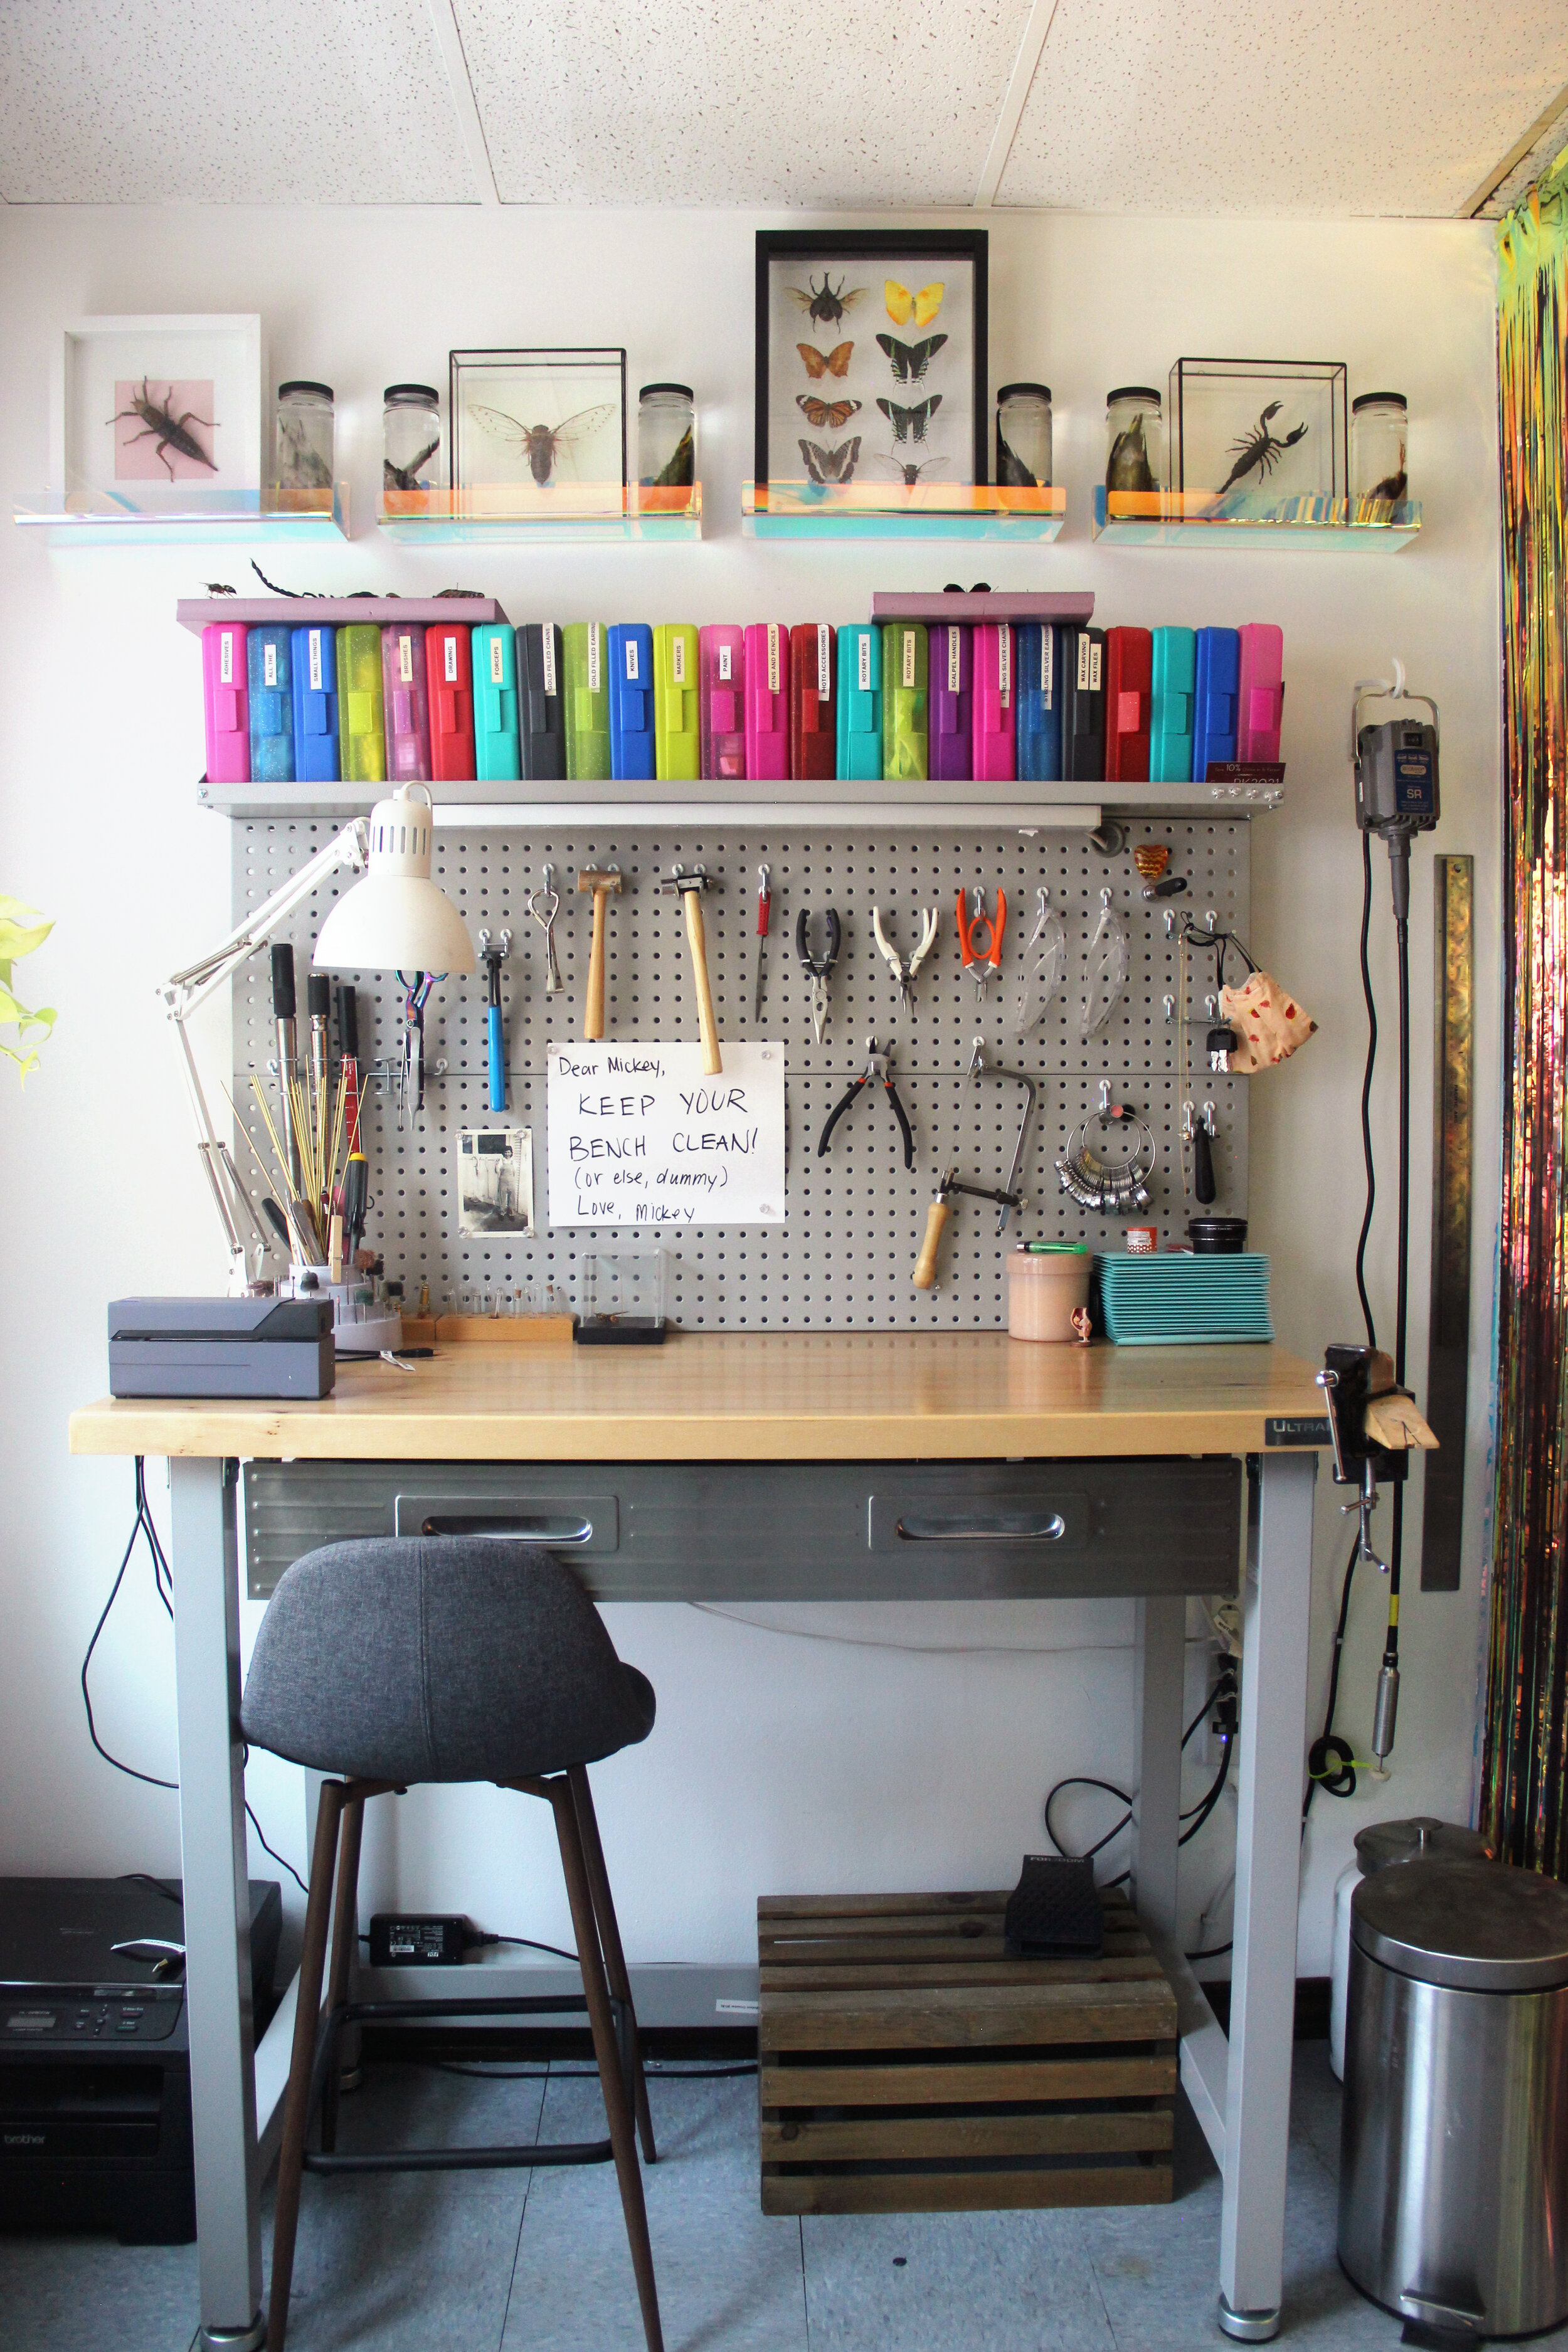
North side. Yes, the sign does actually help remind me to stay organized!

South side

Northeast corner

Southeast corner
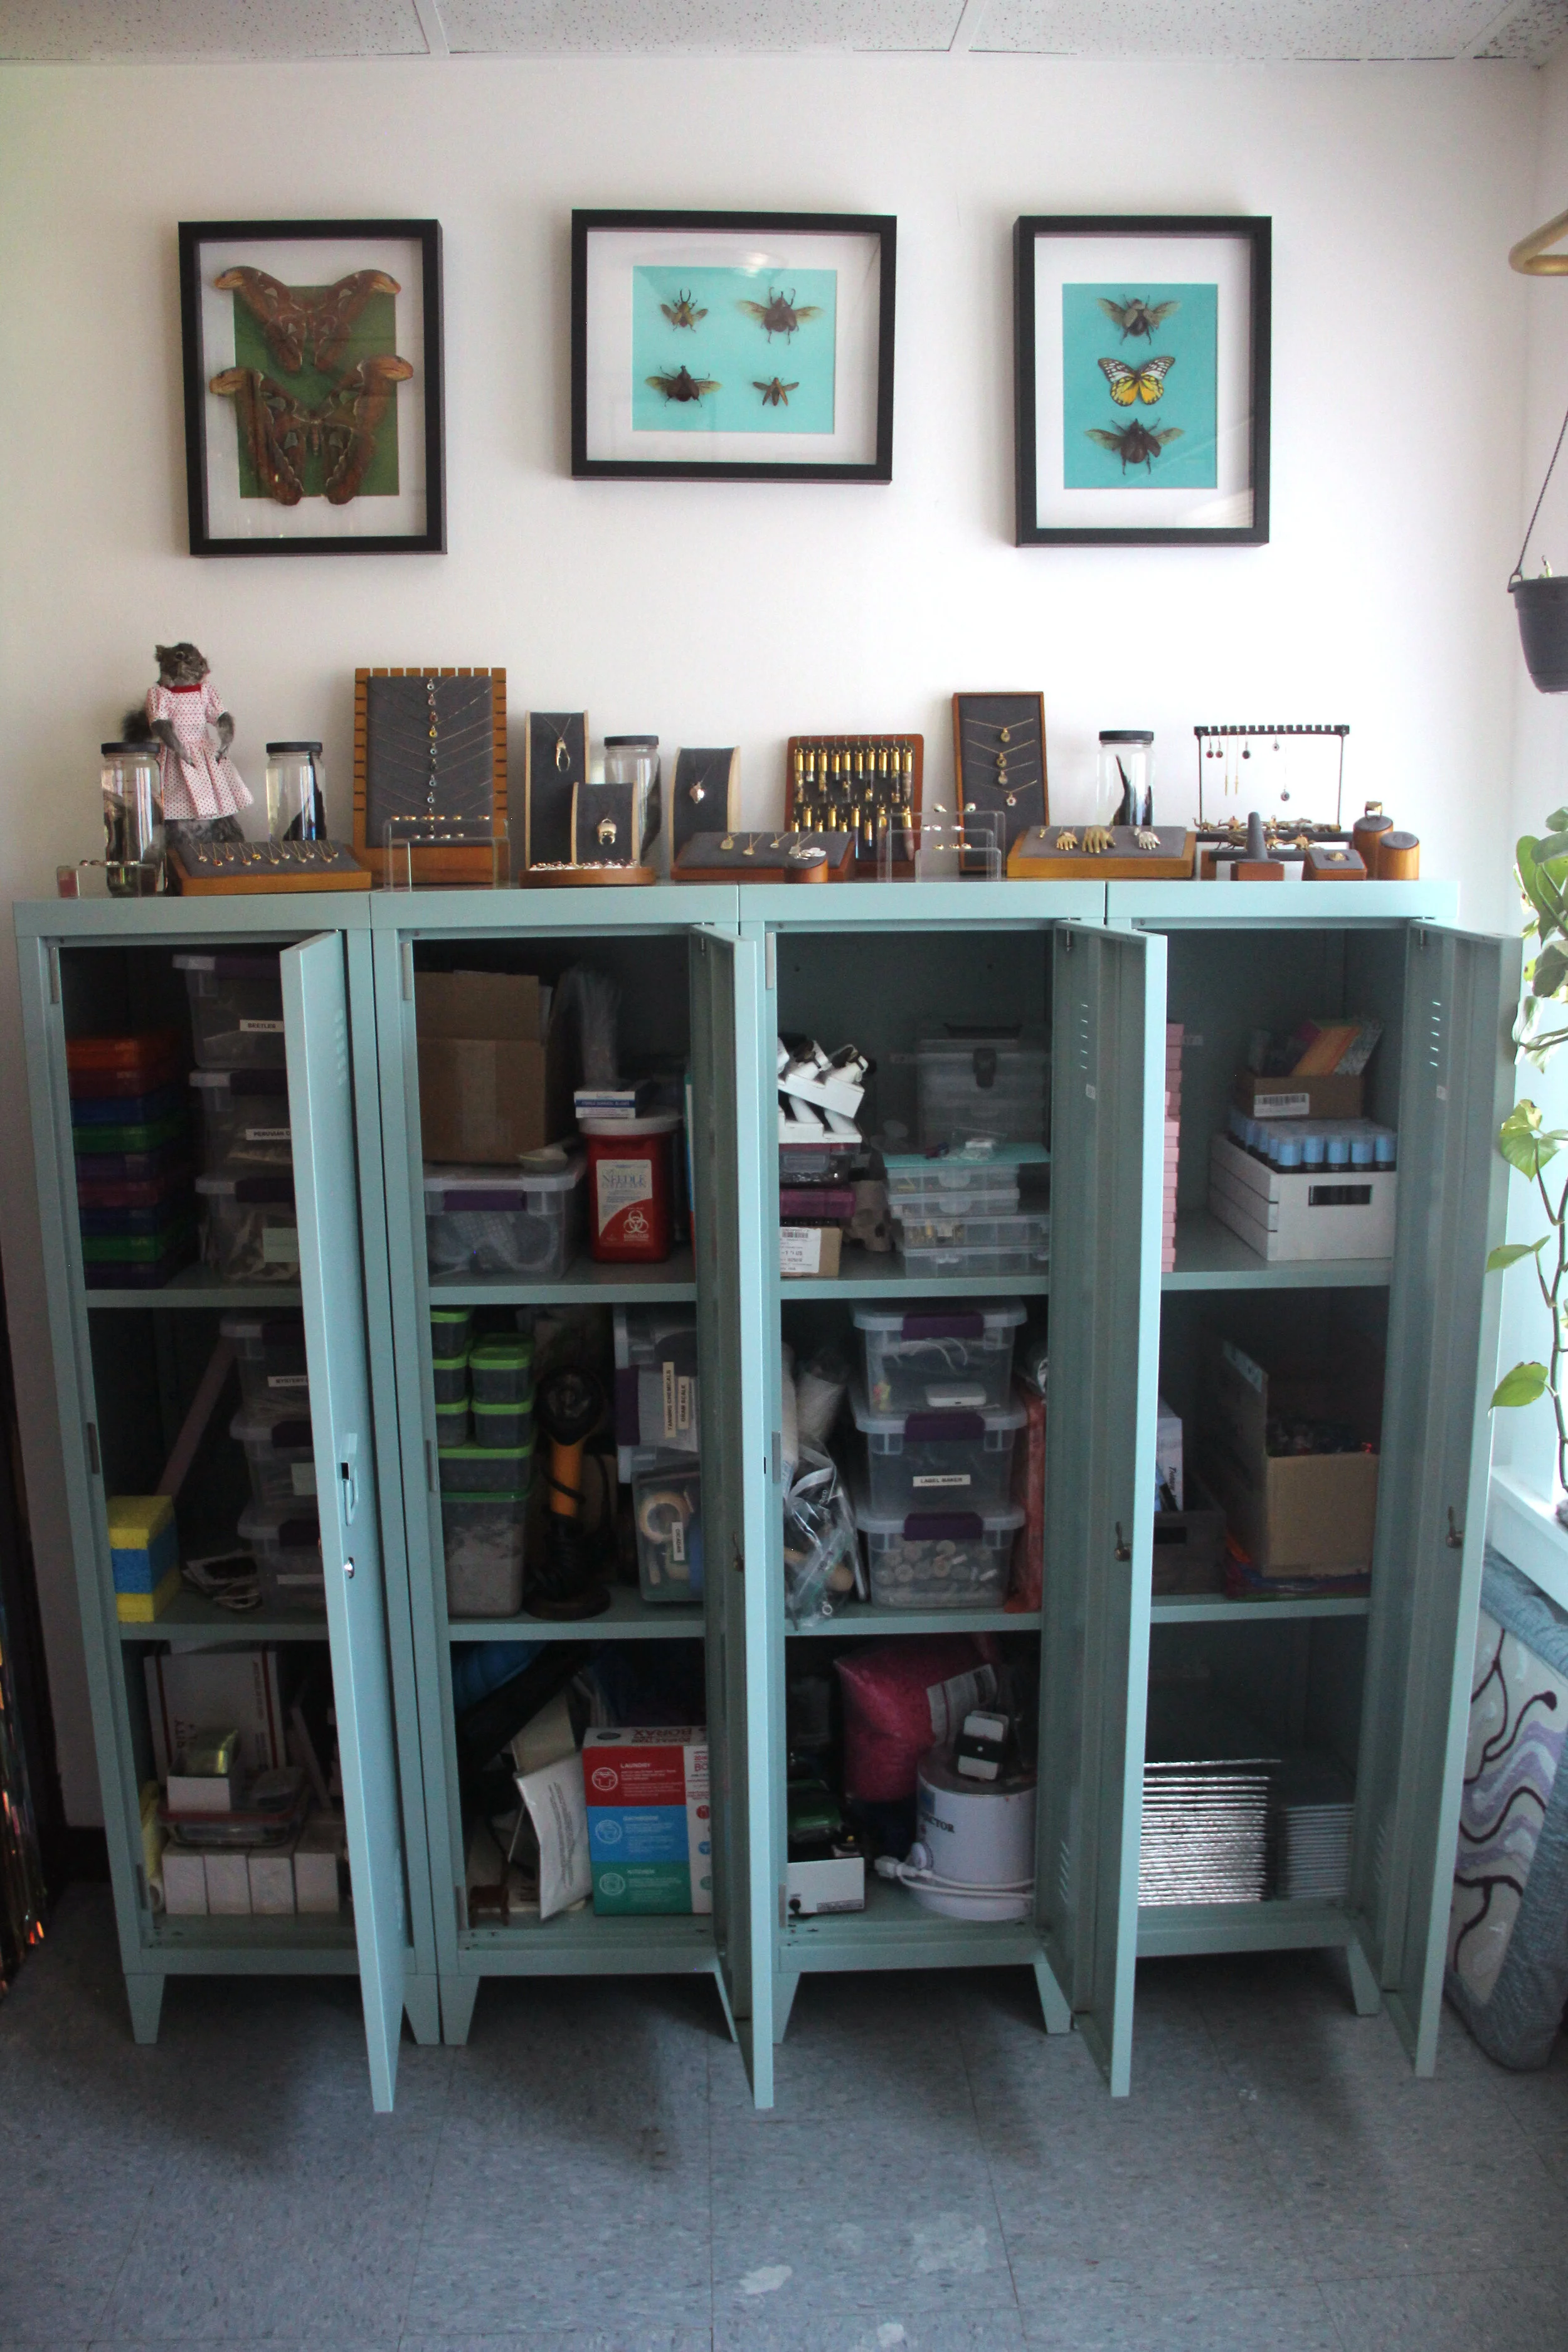

I love these lockers but wanted to add a self-closing element, so I bought a 12-pack of bar magnets. I use 3 per locker at the top, middle, and bottom.
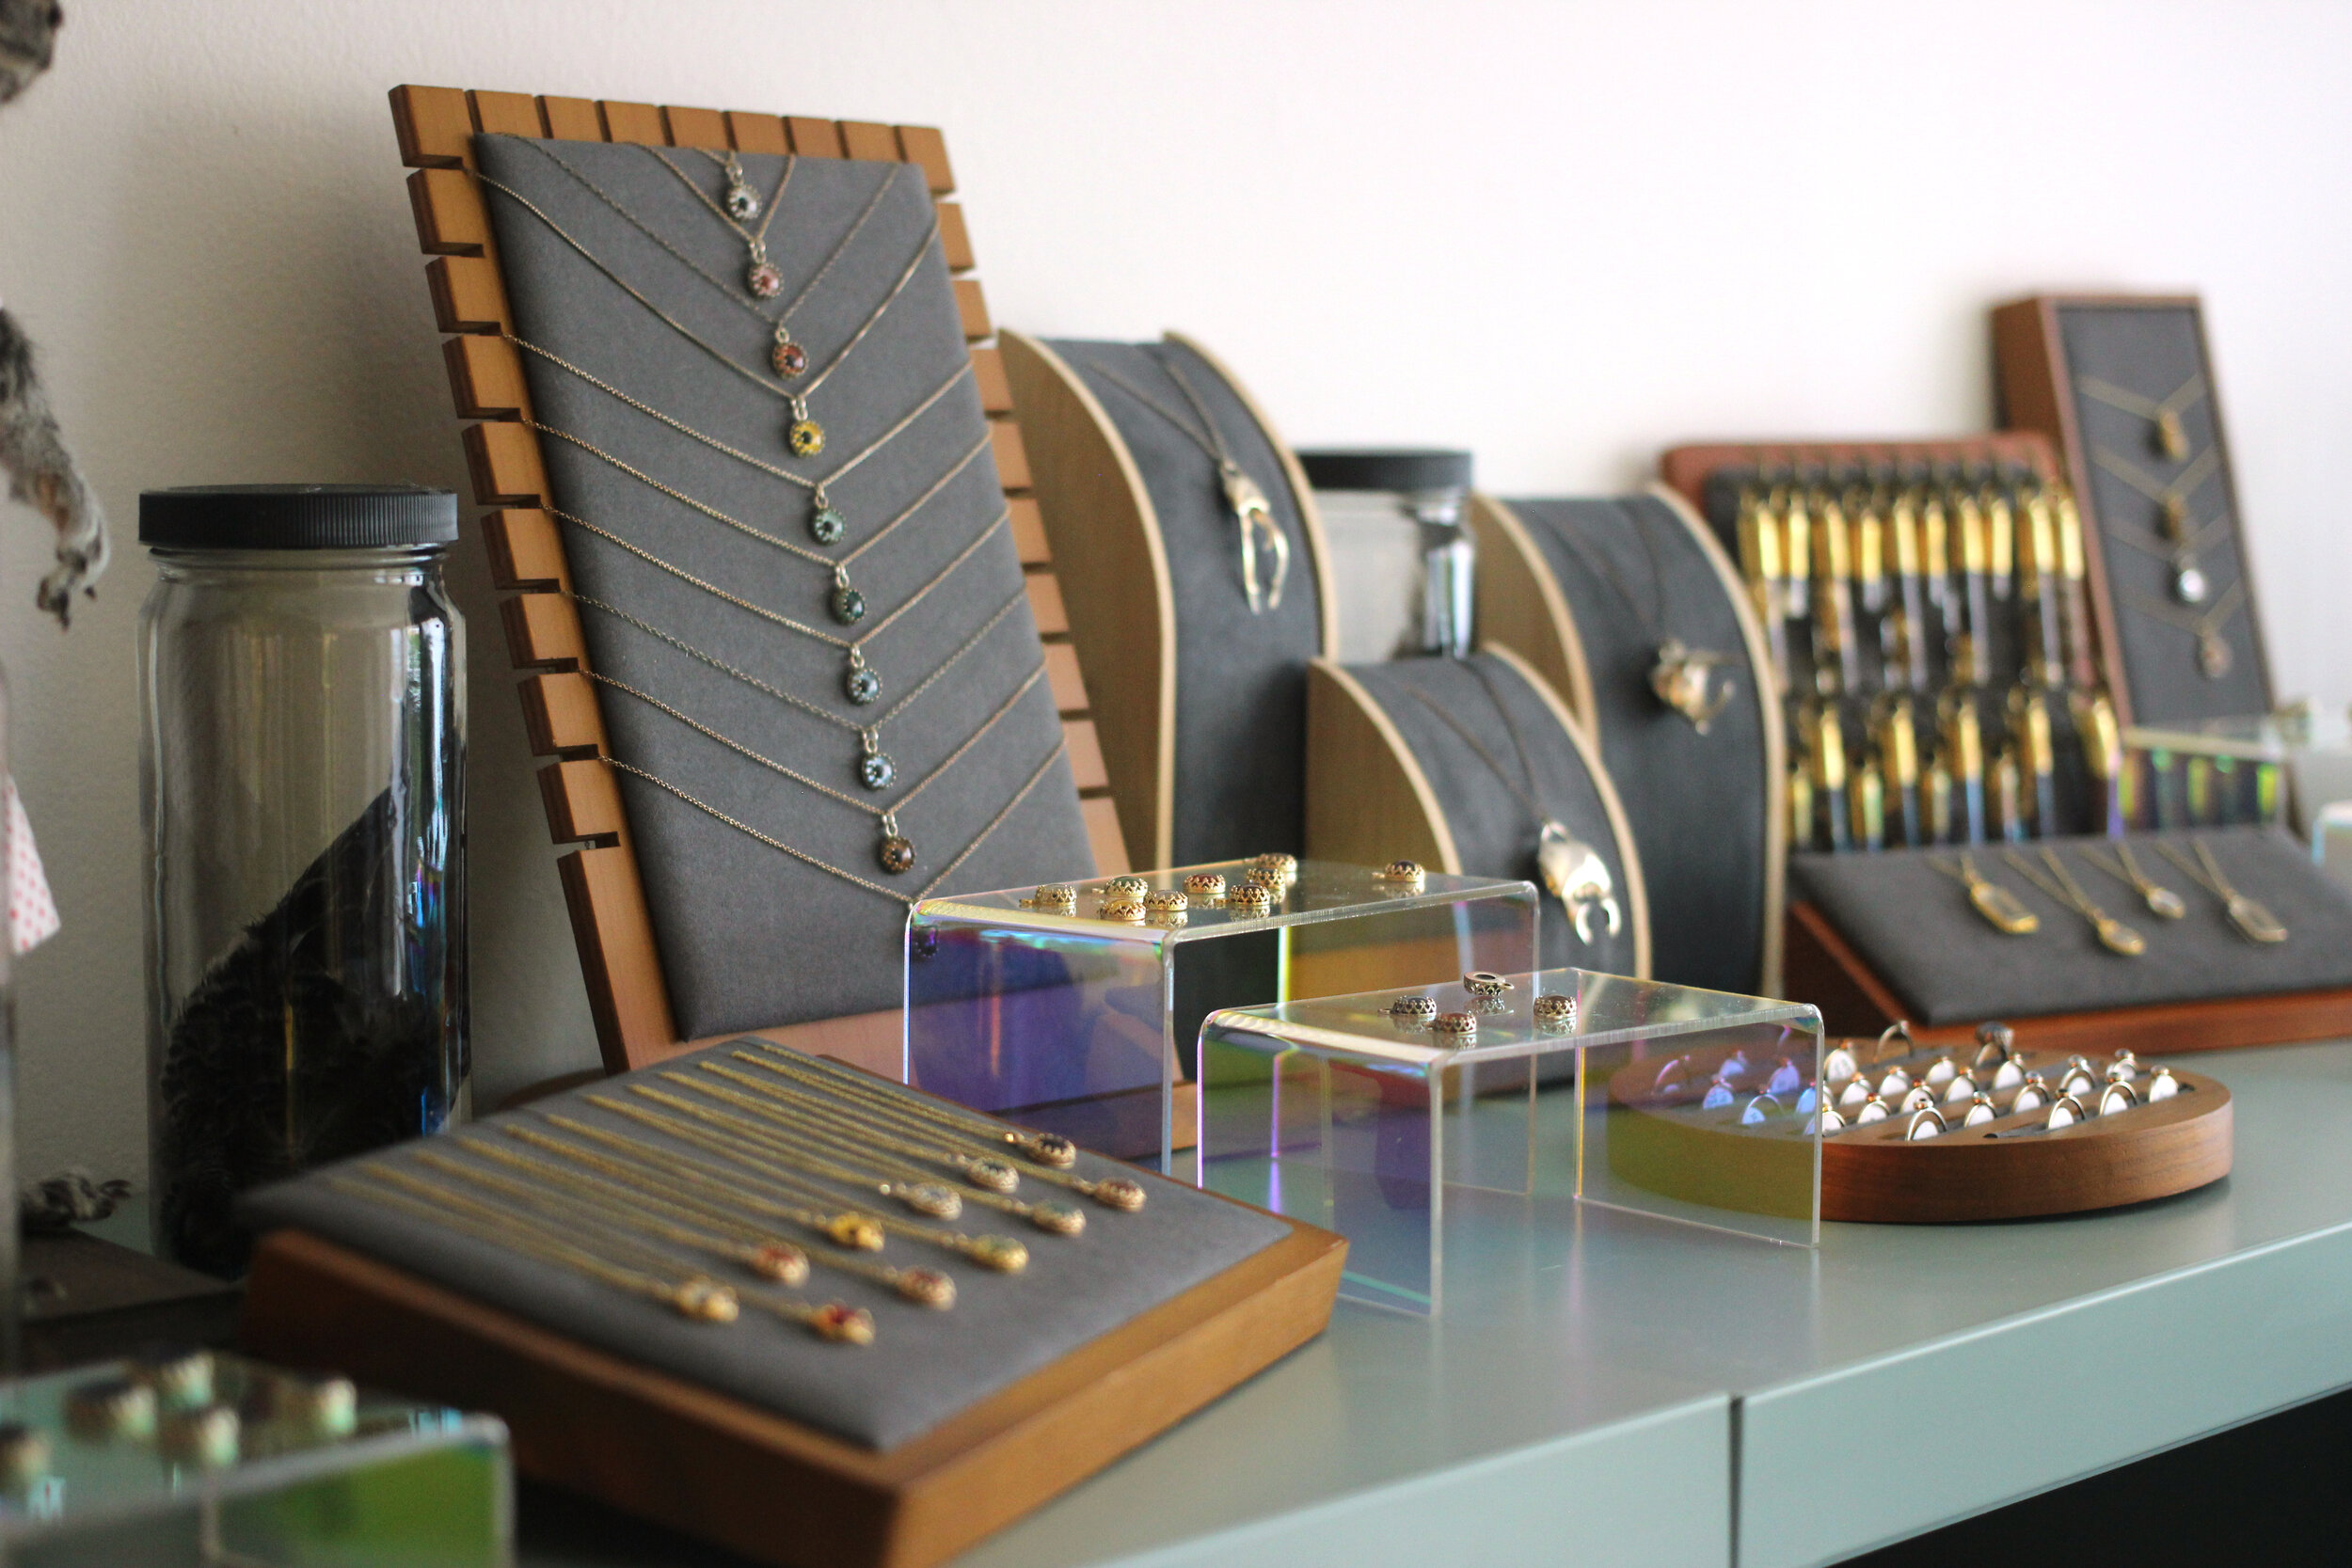
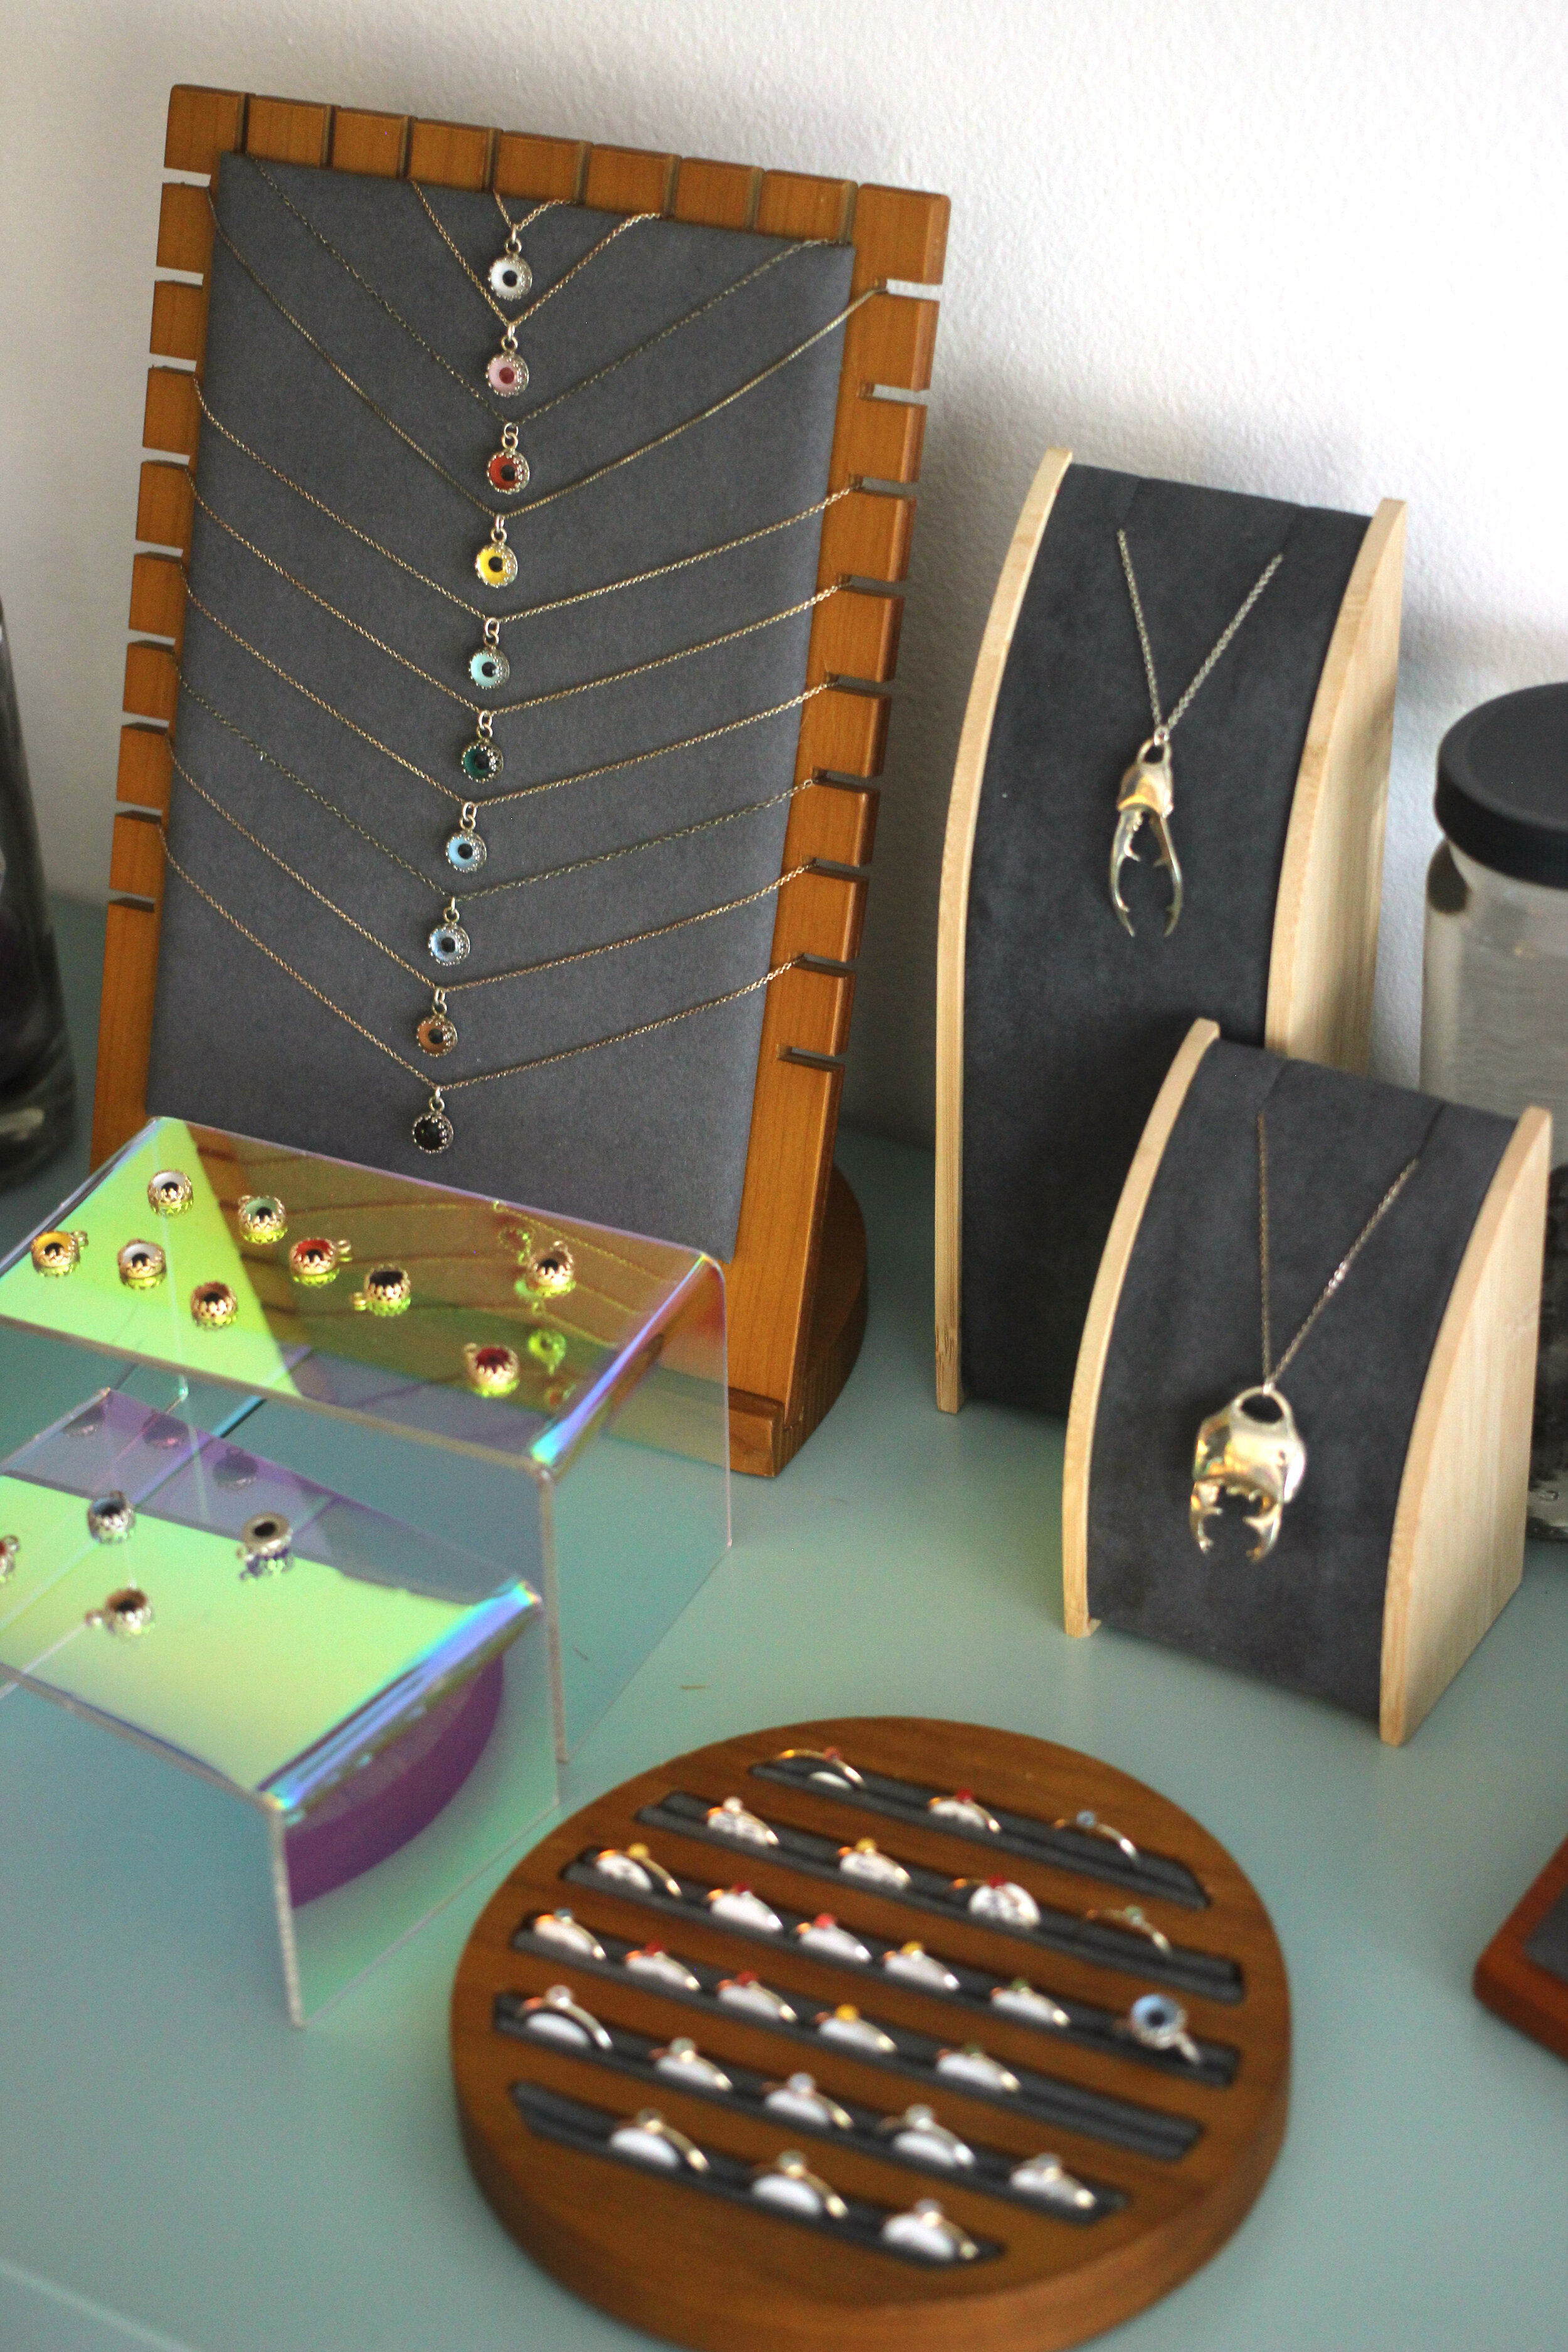
I love having all of my jewelry and specimens out and on display!
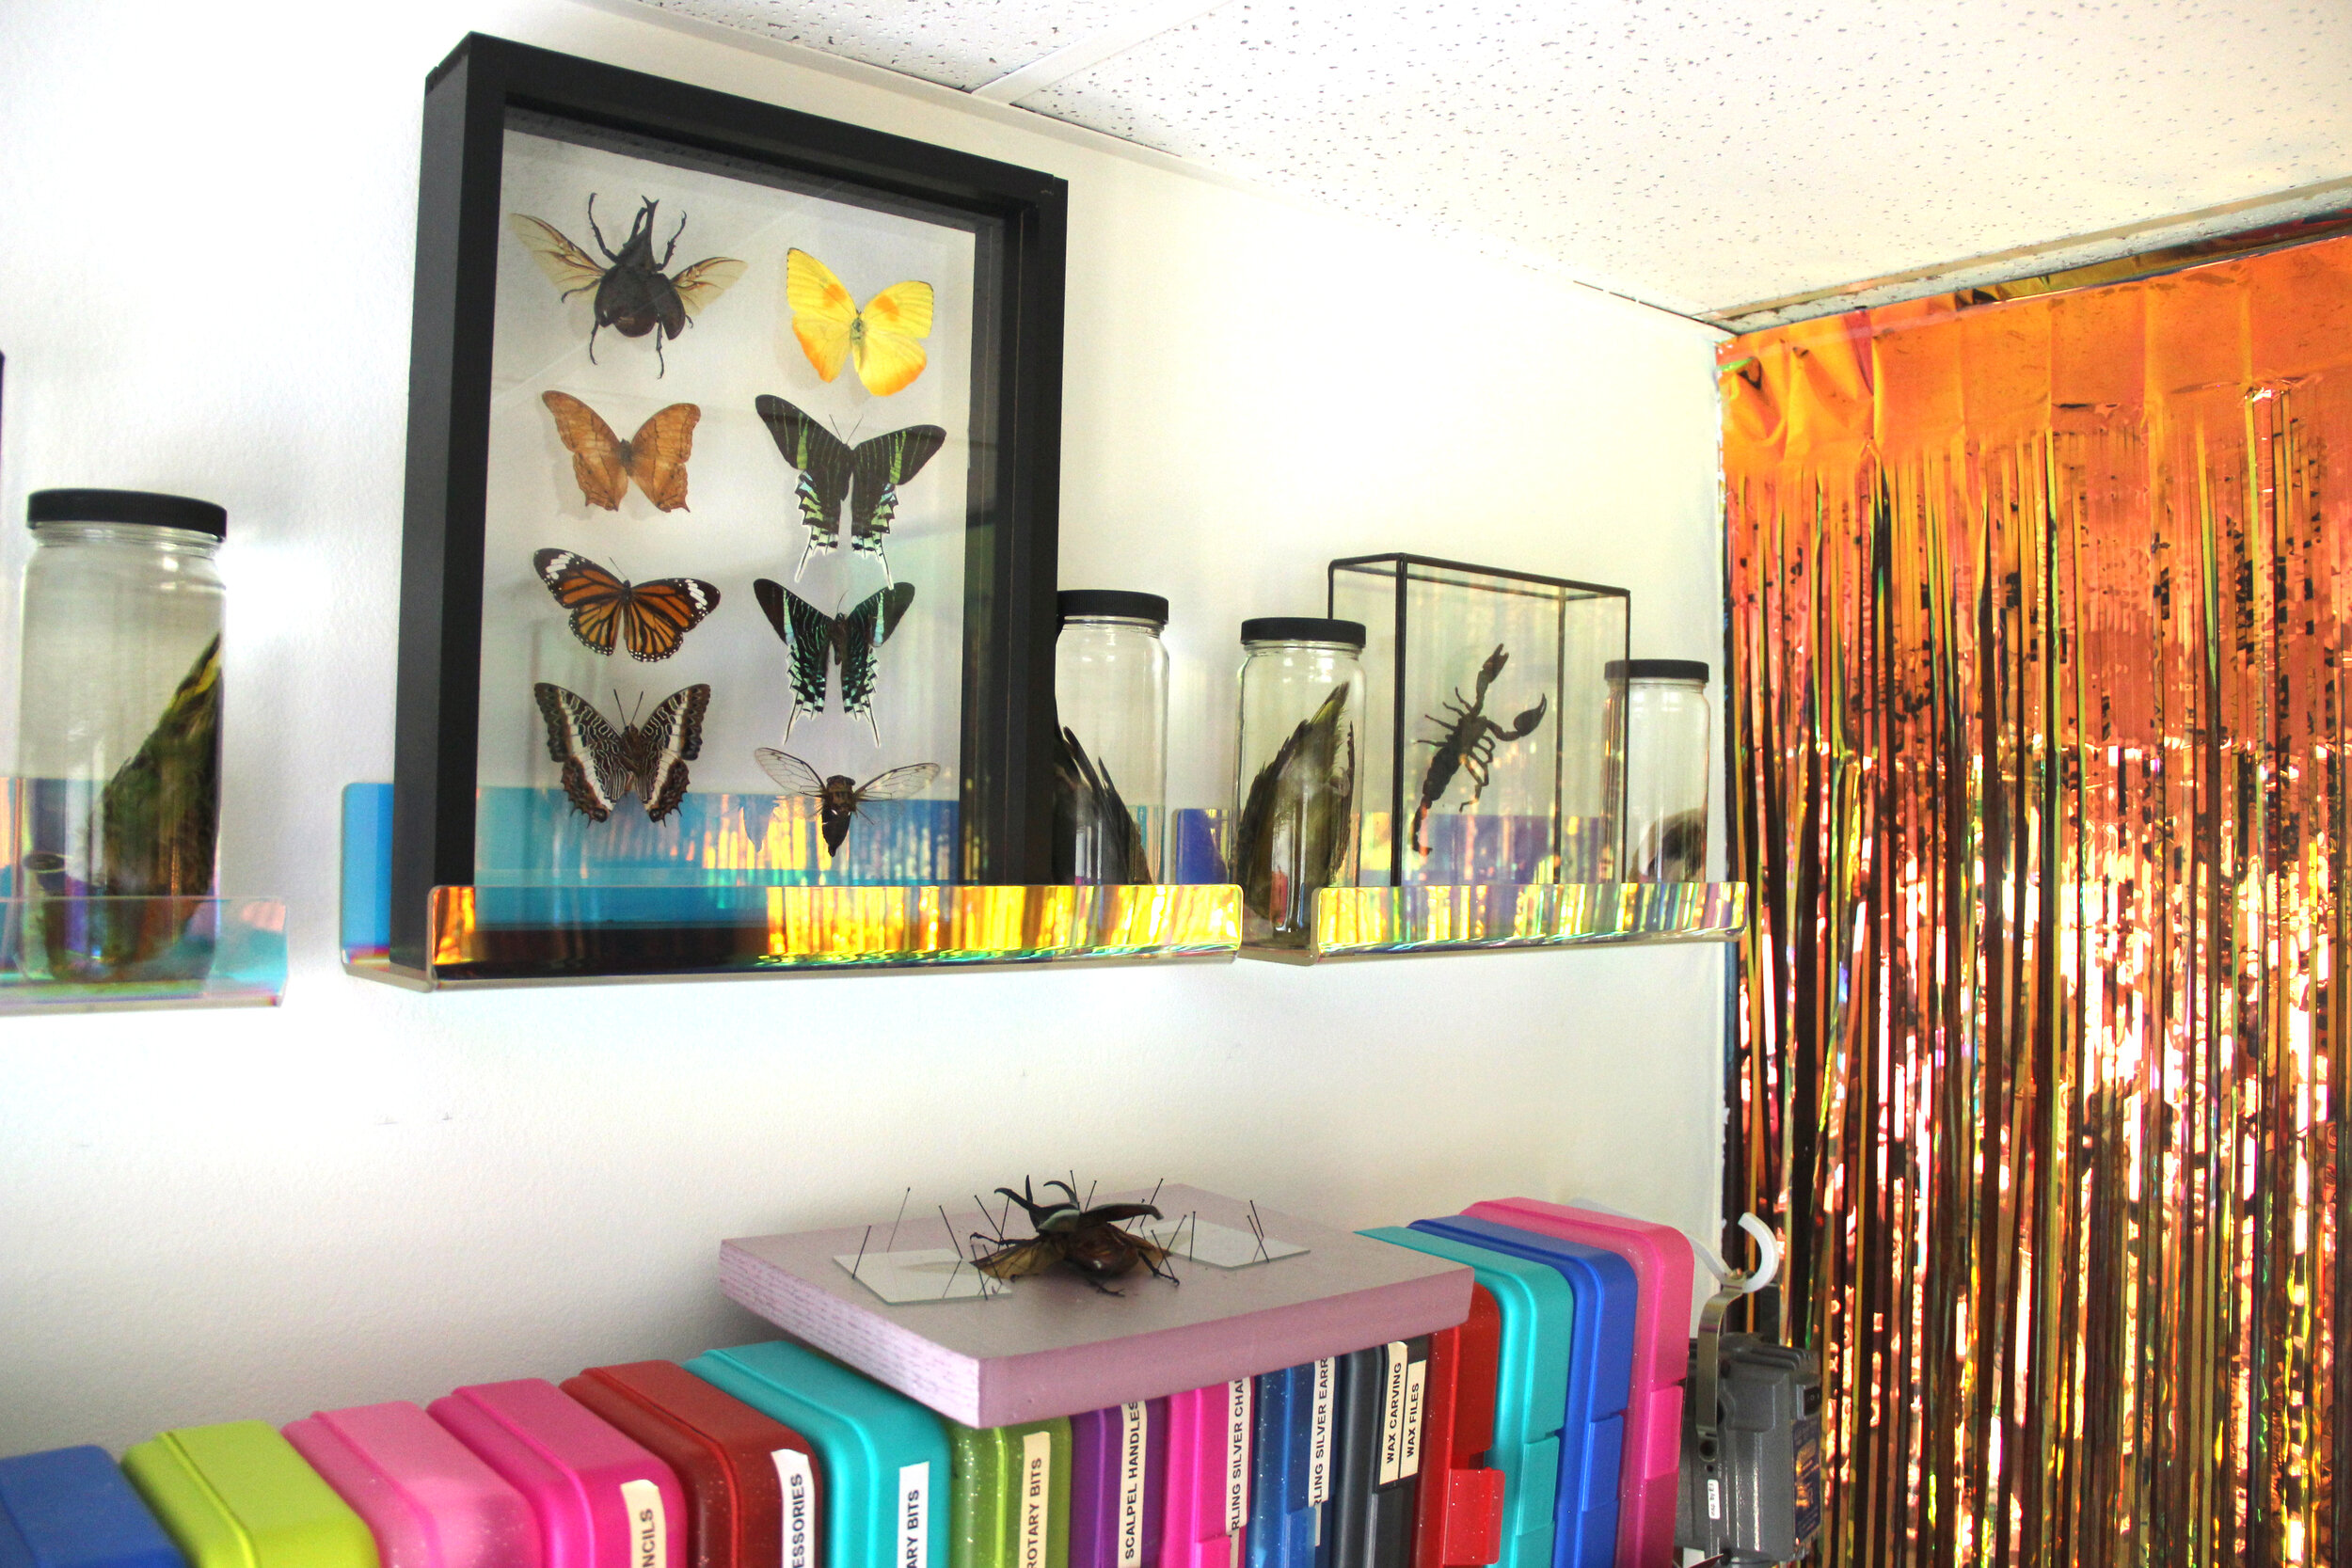
Adding clean-looking iridescent shelving to my north wall that matches my iridescent display risers from my south wall helps tie the room together. Not sure if you can tell, but I love things that cast a rainbow in their shadow! I installed a strong, adjustable curtain rod to hang macrame plant hangers (which come with appropriate hooks!) from, and I protect my plants from sunburn with budget cellular shades — I wasn’t about to drop serious coin on window treatments for a place that isn’t mine so I used Factory Direct Blinds.


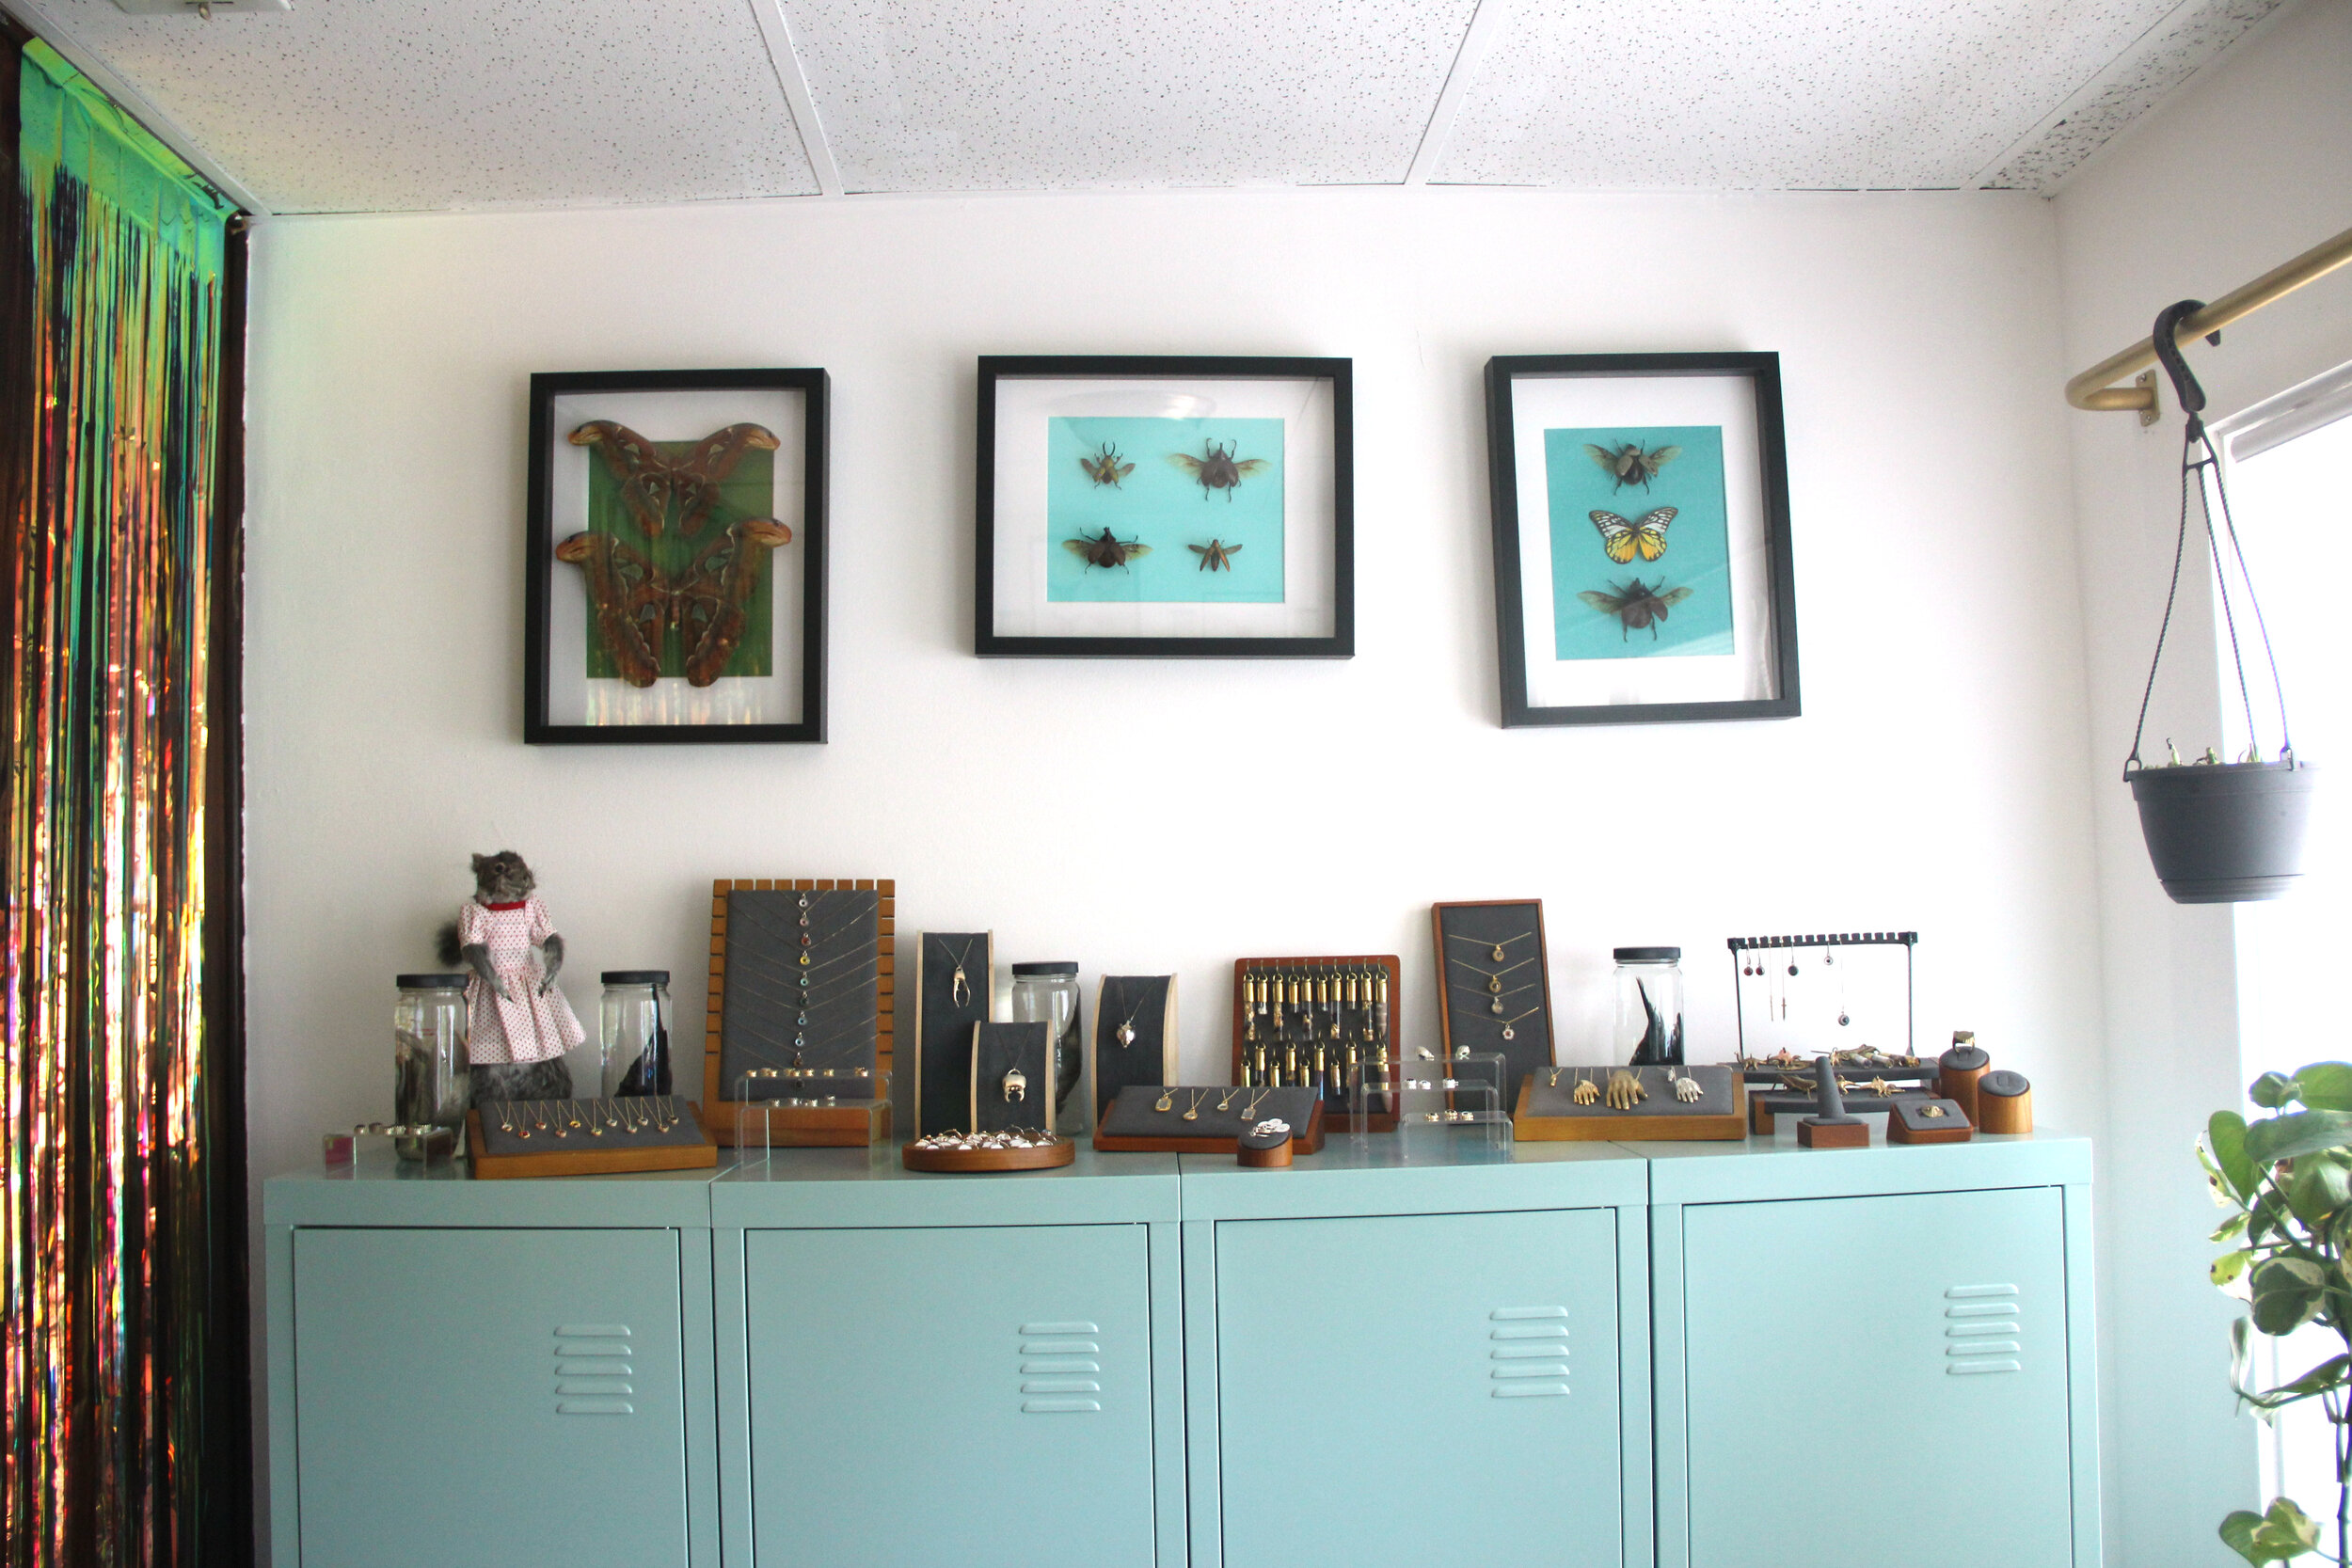
I used removable hangers made specifically for sawtooth hangers for these frames. I use a variety of jewelry display items which are sometimes available and sometimes not. The brand I like is called Oirlv and you can find it on Amazon and AliExpress to varying degrees. Here are a few links: necklace tray, wood risers, necklace display, ring display.
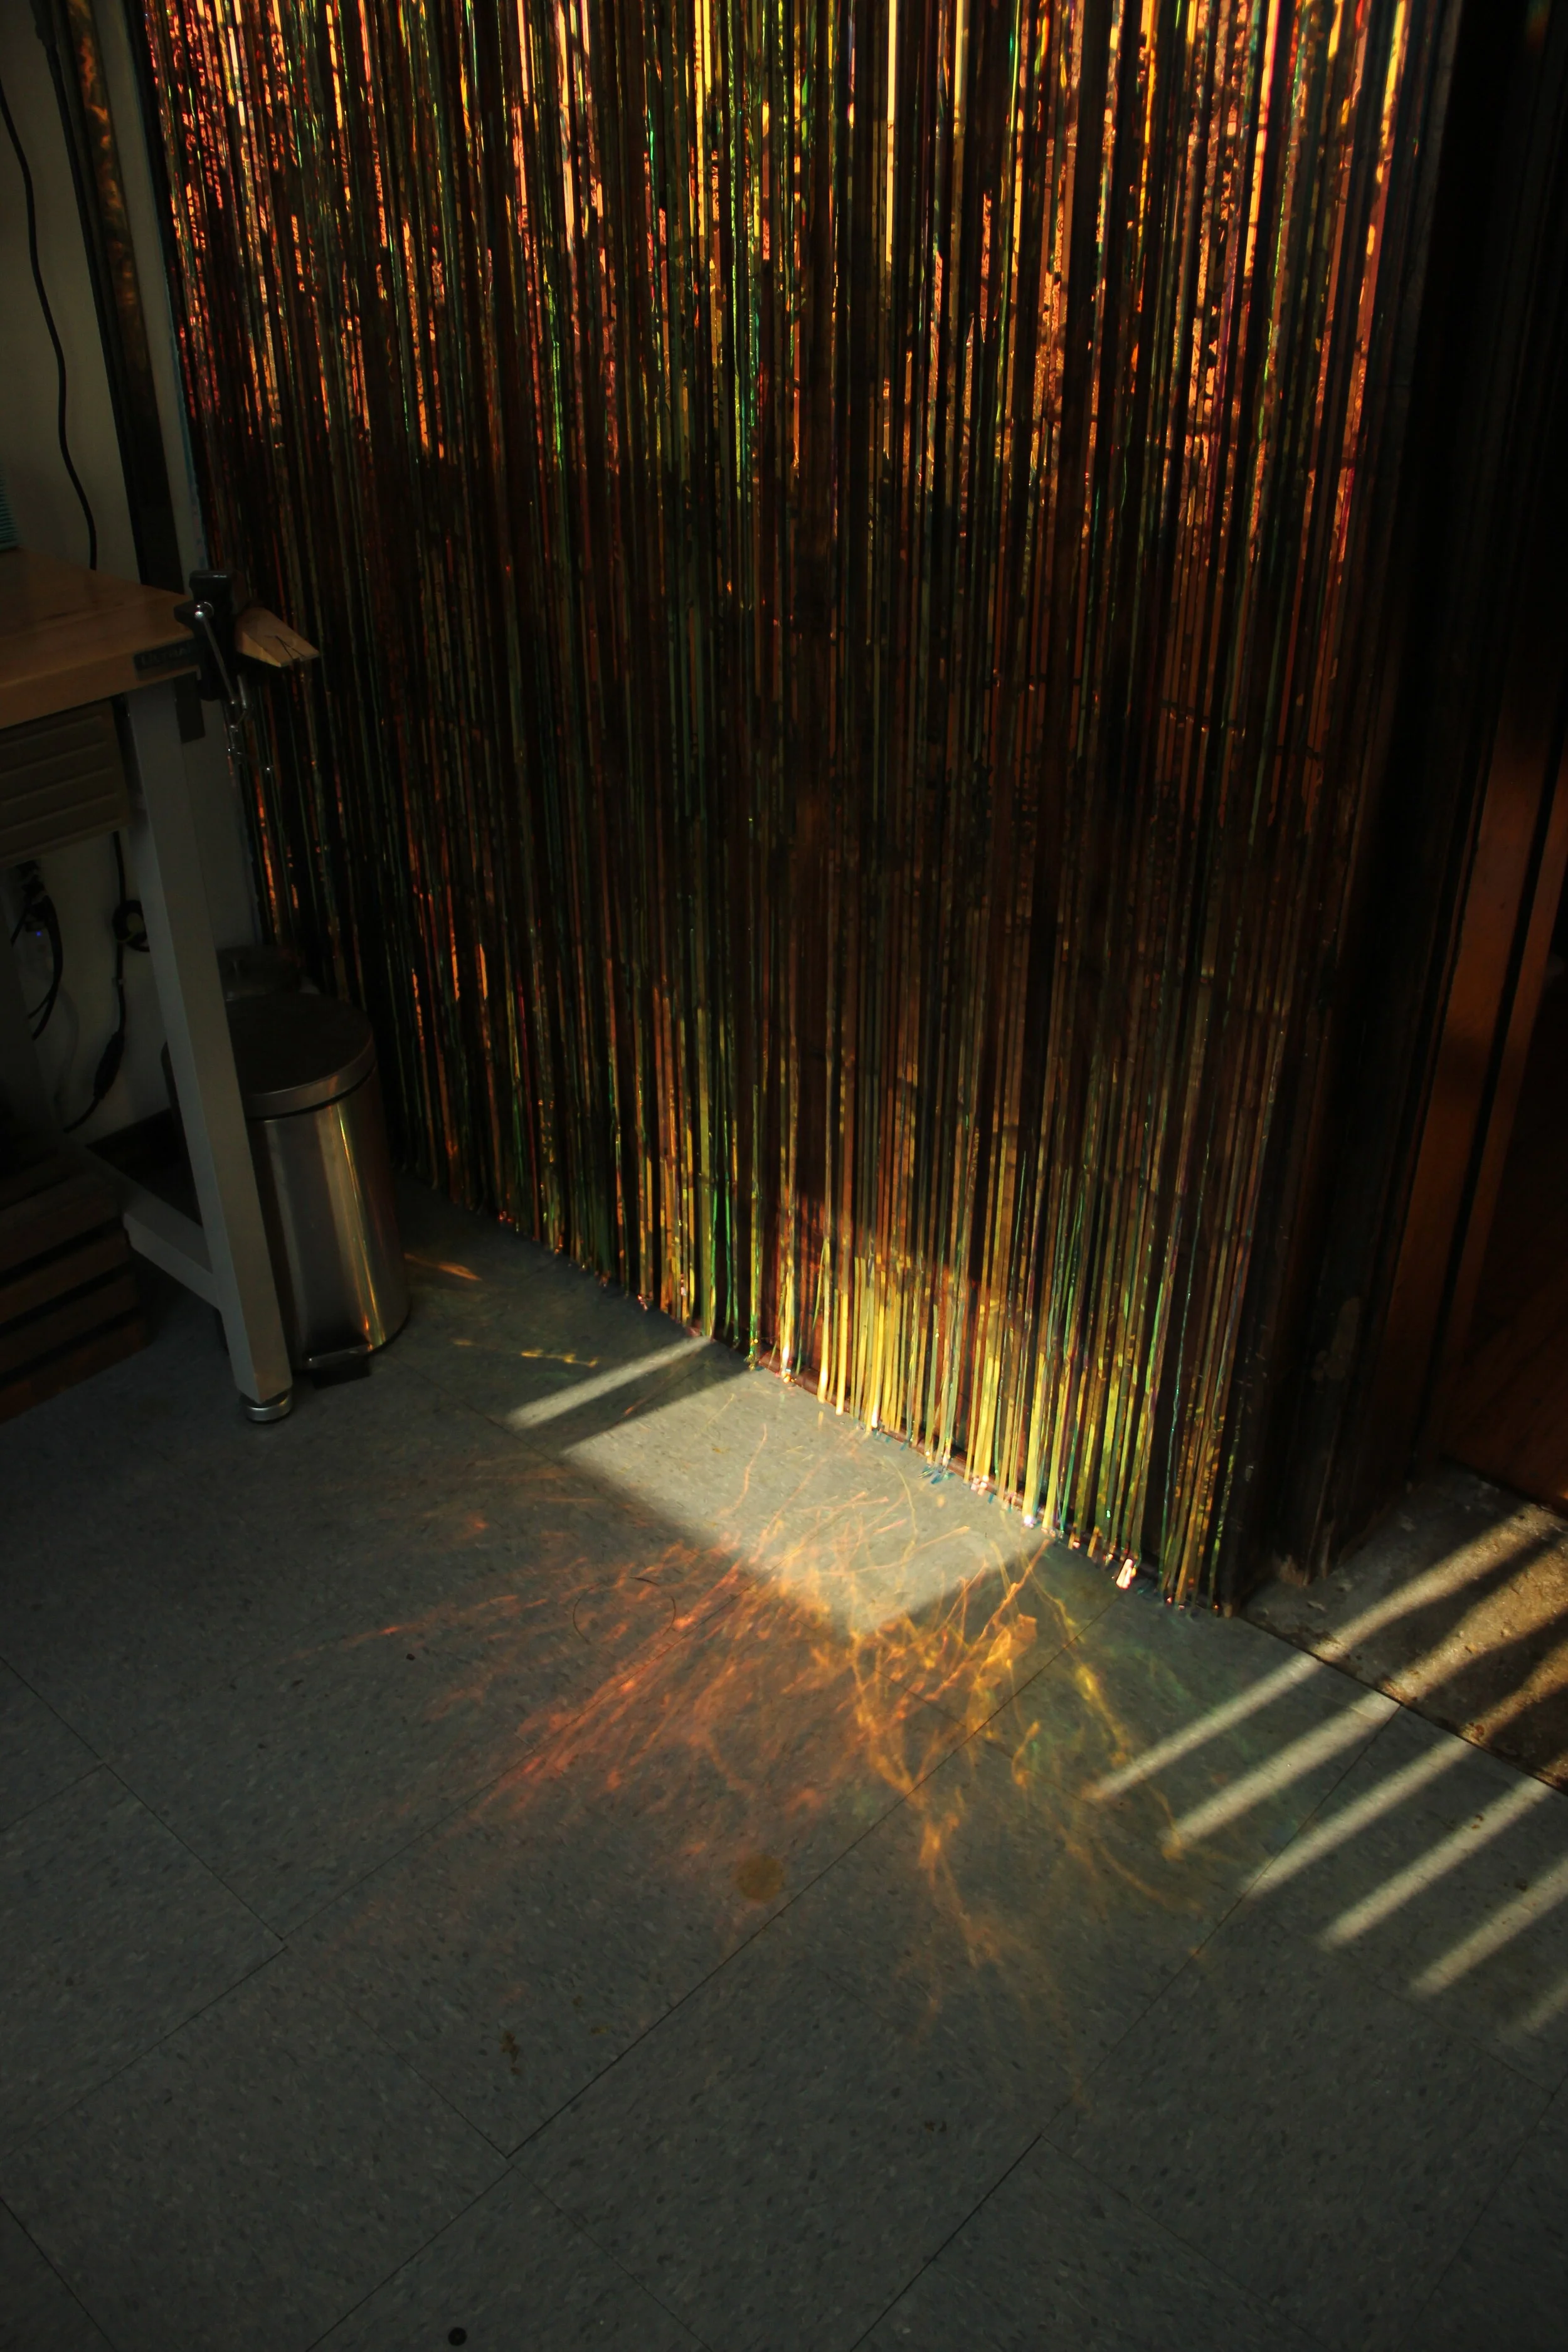

In the evenings, the sun streams through the west-facing windows and hits a my window sun-catchers and my iridescent wall covering just right, casting rainbows across the whole studio!

It feels so, so good to have a work space that suits my needs and which I actually WANT to be in! When the sun gets too bright, I pull down the shades and turn the whole room into a giant soft-box (gentle white photography lighting). It’s so nice!
Here is a comprehensive list of the items in my studio for those wishing to make a purchase.
Jewelry and insects are my work! Buy them right here! Custom order anything you want by using this contact form.
Workbench (Which I LOVE, it has a shelf and a lighted hood. Don’t read the reviews bitching about assembly. It’s not that hard. I am basically made of spaghetti and I did it by myself without any issue.)
Long power strip with flat plug to fit behind the lockers because I only have one outlet and it’s not where I want it to be
Cable clips to keep the power strip going where it needs to go
Lockers available in several colors. These are way less than Amazon with free shipping and there are quantity discounts when purchasing multiples. Unfortunately these lockers are no longer available through this seller.
The plastic pencil boxes are from Michaels, but they do not update the stock on their website and you have to visit a store to see what’s available.
The trash can is old, from Ikea
The chair is a bar stool from Target, the perfect height for this workbench. Other chairs felt way too small and/or uncomfortable.
I use a wooden crate under the foot pedal for my flex shaft to make it an appropriate height for my foot to reach. I think it’s from Michaels — again, old.
I think that’s basically everything but if you see something that I didn’t link, feel free to hit me up!